
Grain

As I mentioned in my previous post about my Leica M8, although I fixed it successfully, the front cover was cracked. That meant that the top cover (the one with the glass windows for the rangefinder and the shutter speed dials) was hanging on only by one screw, instead of two, and someone had glued it in place, rather than replacing the front cover. I ordered a new front cover from Leica, at about $150. Not the cheapest, but it’s cast magnesium, so the chances of welding/brazing the cracked one were near zero, at least for my skill. the following pictures show how I stripped down every single piece of the M8 in order to replace the front cover. It starts half way through the disassembly, where we left off in my other post.


I recently bought my first digital Leica: a broken (of course) M8. The camera had a “shutter fault” problem, in which the camera doesn’t seem to be able to cock the shutter and, after trying a few time on power-on, it gives up and returns the “Shutter Fault” screen. It appears to be a somewhat common problem with a magnet in the shutter mechanisms, for example here.
After working on the camera, I believe I have an idea of what happened: the camera was dropped, and part of the chassis cracked as a result. Someone else, clearly not a Leica technician, opened the camera and repaired it (with glue, lots of glue). Perhaps because of the fall, after a while an internal part broke and a piece of it jammed the shutter. At that point the owner must have got rid of it and it ended up on ebay, where I bought it.


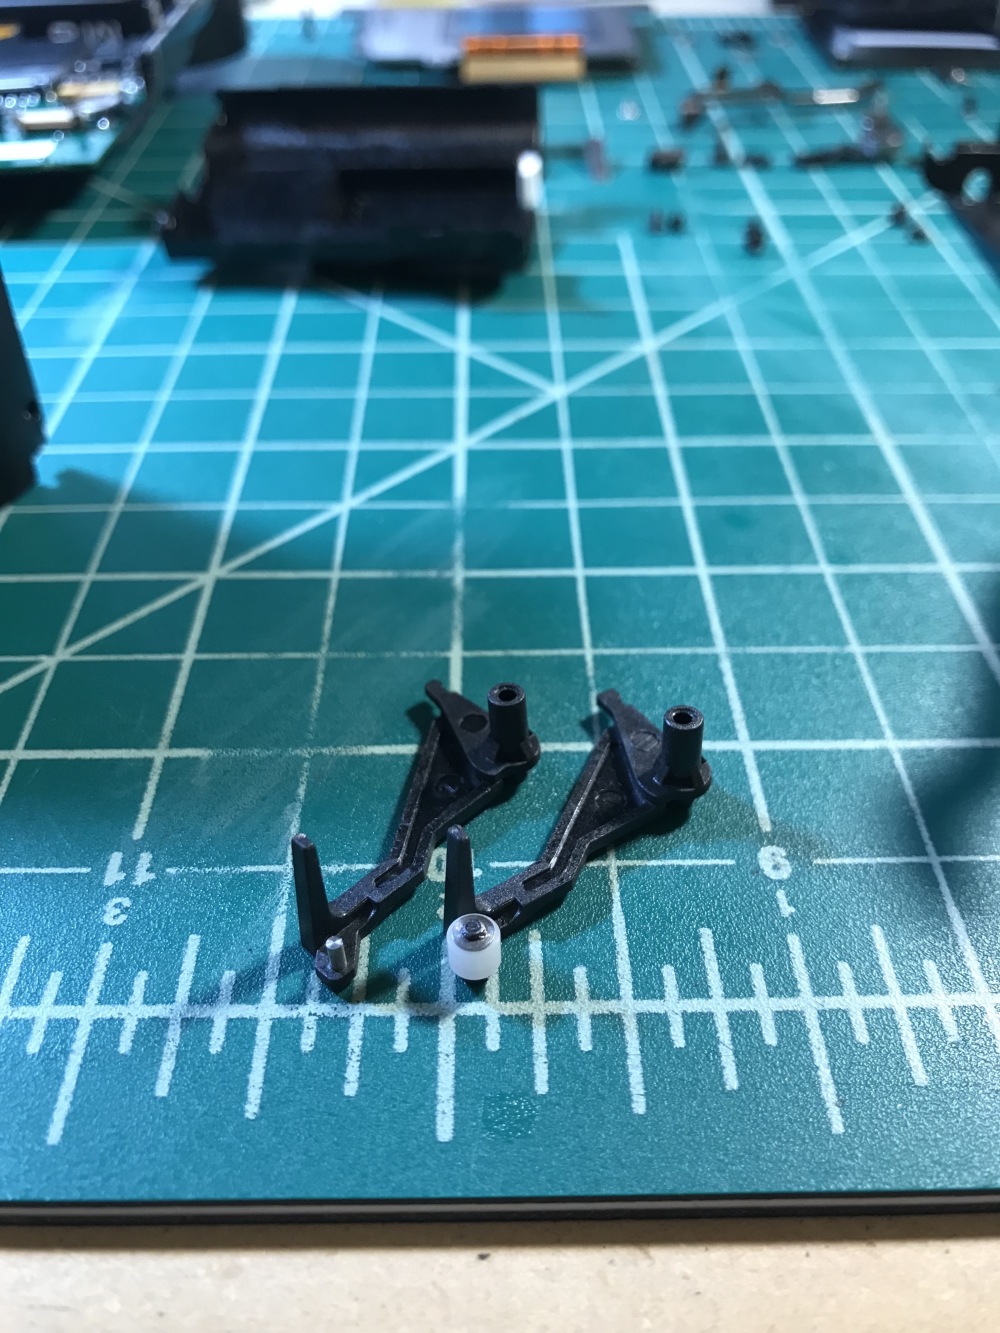
Update: I ordered a new release lever from Leica, for around $10, and there is a plastic roller that I did not find anywhere when I opened the camera.
I am at the point now where I can pretty much repair everything of a Leica M3 (mostly because you can find the service manual for it AND Leica still sells spare parts for it), with the exception of the rangefinder.
The viewfinder/rangefinder assembly is the one part that not even Leica repairs anymore, they simply change the whole assembly, retrofitting M3s with the MP’s rangefinder (for more than $900). For that reason, I started playing around with the idea of learning how to fix the most common problem on the rangefinder of an M3: separation.
One of the many parts of the viewfinder/rangefinder assembly is a beamsplitter: a cube of glass with a semi-reflective diagonal that is used to merge the viewfinder’s image and the rangefinder’s patch. Cube beamsplitters are simply two triangular prisms that are glued together, and one of them is coated with a semi-reflective layer of material. In the case of the Leica M3, it seems that they used gold. If you deposit a layer of gold (or silver, aluminium, et cetera) thin enough, part of the light will go through it, and part of it will be reflected. The most common problem with M3s’ beamsplitters is that after a few decades they separate, meaning that the glue holding the two prisms together comes loose. When that happens, the viewfinder/rangefinder is unusable. The solution is to take the assembly out of the camera, and re-coat one of the prisms with a semi-reflective material, and re-glue the beamsplitter back together. Getting the beamsplitter out of the rangefinder assembly is pretty hard: whatever glue they used to set it in place is strong and did not weakened in any of the solvents that I tried, not even acetone. My suggestion is that you slowly and carefully scrape it off, using drill bits to remove it from the holes it is in.
After a few attempts, I was able to deposit a semi-reflective layer of silver on one of the prisms, and glue the beamsplitter back together. The result is NOT pretty, but it works. The hardest part of the process is to obtain a uniform layer of silver, while making sure that the amount of reflected light is roughly the same as the amount of transmitted light. My initial idea was to do the deposition while controlling the amount of light going through the prism (with a light-meter app on my phone) and stop it once the light was cut in half. This turned out to be easier said than done, and I eventually settled on a “try again” approach. Once you get the hang of it, depositing silver on a small piece of glass is done in about 5 minutes, and with a UV glue putting the prisms together is even faster. It took me about 10 tries to get an acceptable deposition of silver, and I stopped mostly because I was going on a trip the next day and I really wanted to bring that camera with me to shoot pictures. To deposit silver on one of the prisms, I used the mini-kit available at angelgilding, and I used a UV/blue curing optical adhesive from Norland, NOA85V. My tips for silvering are:


As you can see, my final result is not pretty, but when I look through the viewfinder I don’t notice the bad silver coating: that’s because the silver is not where the image is formed! For example, you will see any speck of dust that is on the frameline mask of the rangefinder, but you won’t see that big spot where I accidentally remove silver from the prism. I hope this help anyone that is trying to do the same repair.
The Leica M3 doesn’t have the quick-load feature of later M models, and uses a removable spool to load film. You first put the film leader under the take-up spool spring, then the take-up spool goes in the camera, alongside the film cartridge. When you remove the take-up spool from the camera, the film counter resets. This happens because thanks to the mechanism that is inside the shaft where the take-up spool is inserted. The pictures that follows show how to take this shaft apart. Note that there are several slightly different versions of the Leica M3, so yours might be slightly different than mine.


Have you ever wondered what’s inside an M3 shutter curtain roller? It’s a simple spring, the one that you can regulate when you remove the Leica M3 bottom plate. I am completely dismantling an M3, and I opened up the roller of the 1st shutter curtain to see what’s inside. As you can see, the grease in there is completely dried up. I don’t know if the rollers get a lot of cleaning usually, because removing them is a lot of work.